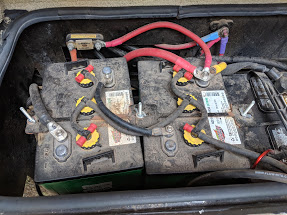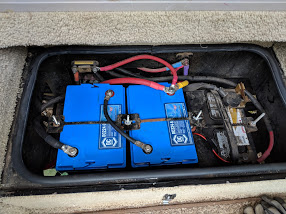

Last year I wrote about having the solar panels and solar charge controller installed on the AdventureMobile, as well as expanding the battery storage. (Go ahead and click that link if you like. I’ll wait…)
At the time I said that this was the first half of the project as I still needed to have some modifications made to the electrical system so that I could take advantage of all that power I was producing.
Well, after a stop-off in Yuma so I could cross the border to Los Algodones to see the dentist, I was back in Quartzsite the week before last just so I could have that done.
I’m going to talk about how the motorhome was equipped from the factory, and then the modifications I made to it. But first a bit of background on the components involved.
There are two electrical systems in an RV. There is the 12-volt DC system which runs directly off the house batteries, This includes the lighting, the water pump, the propane leak detector, and the control boards for the furnace, water heater and the refrigerator. Then there is the 120-volt AC system. This includes the microwave/convection oven, the electric heating element in the refrigerator, the electric heating element in the water heater, the two AC/heat pump units, the three TVs, and all of the electrical outlets throughout the RV. The AC system uses a breaker box with circuit breakers just like the panel in a home, fed by the “shore power” plug when plugged in at an RV park or campground, or by the generator.
From the factory, my motorhome had a 1200 watt Modified Sine Wave inverter from Xantrex installed. This inverter could take DC input from the batteries and invert it to AC to power the one 15 amp circuit that powered all of the TVs, the TV antenna booster, the outlet where one would plug in a satellite TV receiver, and one outlet at the front of the motorhome next to the passenger seat. A common feature of inverters, including the one in the AdventureMobile, is that they have an input for the AC circuit and when that circuit is live they switch off the inverter function and simply pass through the AC power. So my coach was wired such that the 15 amp circuit from the AC panel goes to the inverter’s AC input. There is also a DC input from the batteries. When the inverter is turned off, it simply allows the AC power to pass through it. When the inverter is on, it “looks” at the AC circuit to check if there is power coming in. If so, it keeps the inverter function switched off and allows the AC to pass through. If the AC circuit is not live then it will use the DC power coming from the batteries, invert it to AC, and feed that AC down the AC circuit to power the TVs. This function of switching between the AC or DC input is called auto-switching.
The motorhome also has a converter. The converter takes AC power when plugged into shore power or plugged into the 5500 watt generator, and converts it to DC power to run the DC power system and to charge the batteries.
So, an inverter takes DC power and changes it to AC power, and a converter takes AC power and changes it to DC power.
After having the solar power system installed last year and expanding the battery storage, I could produce and store a decent amount of power but all I could do with it on the AC side was watch TV. If I wanted to use the toaster in the morning or heat something up in the microwave or use my little portable clothes washer, I had to run the generator.
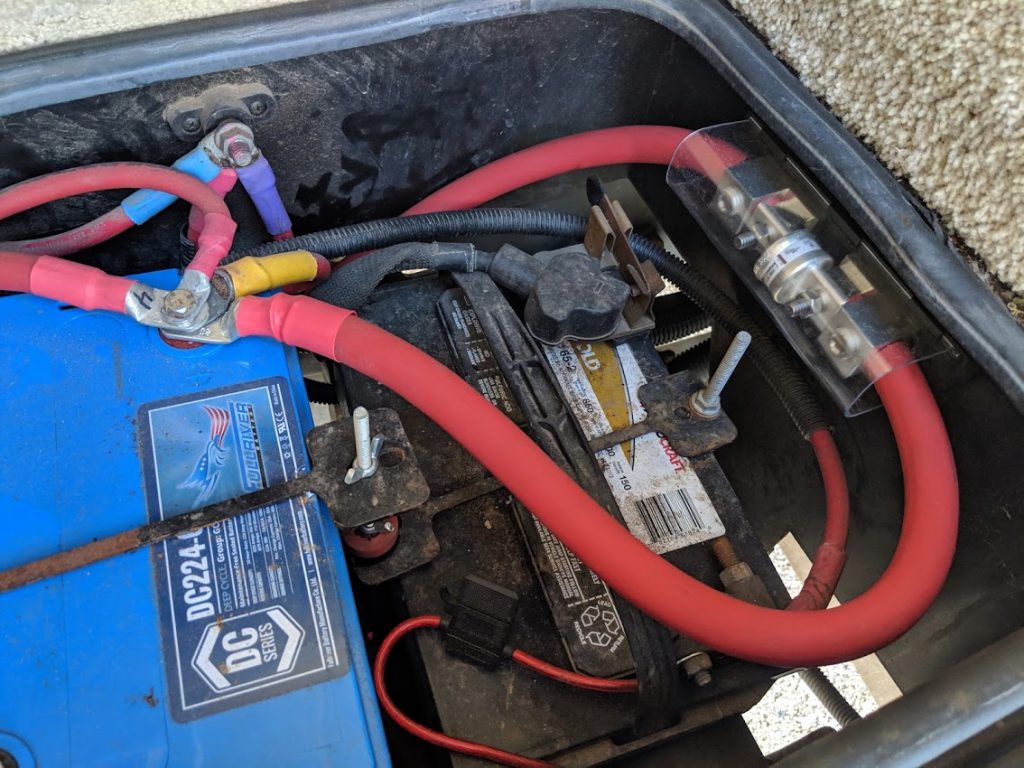
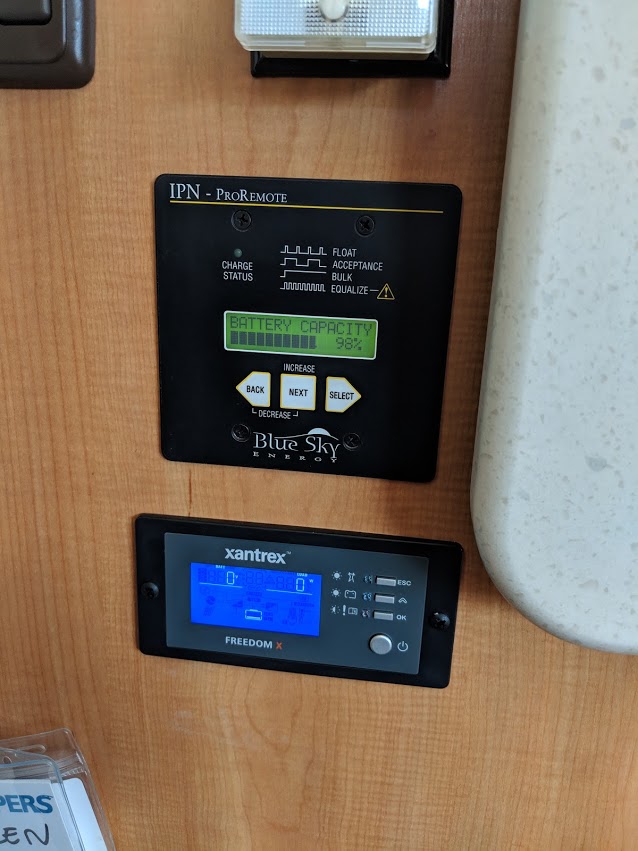
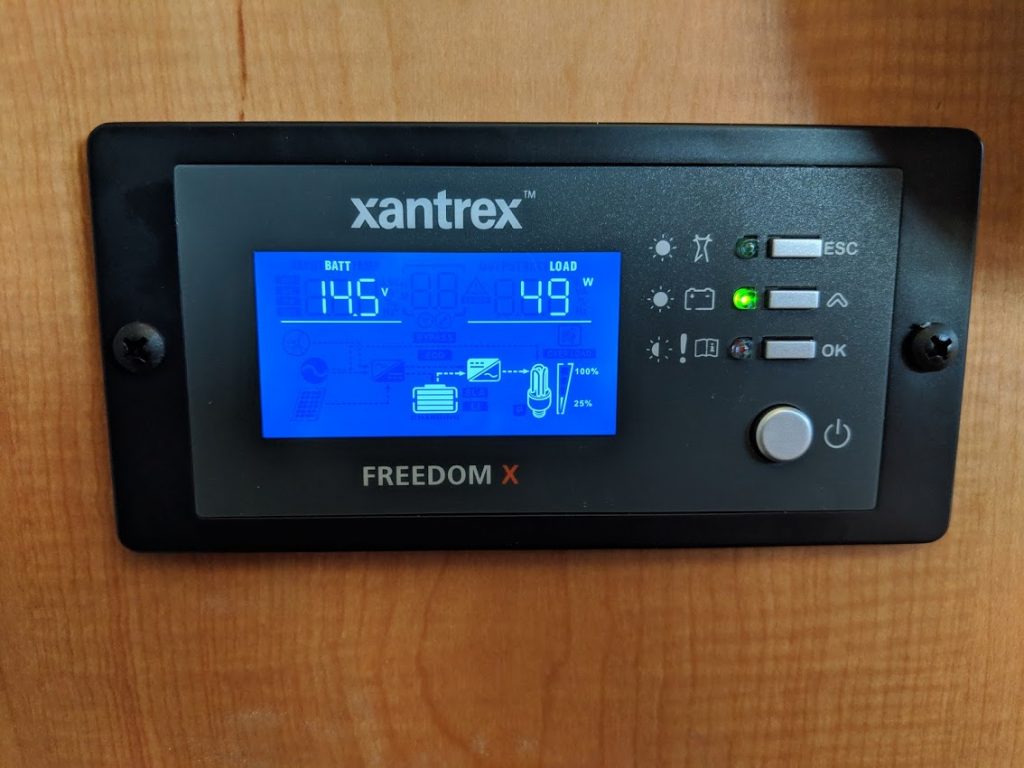
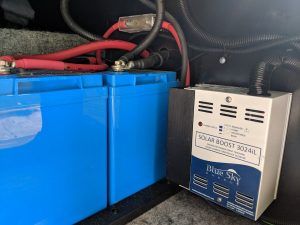
So when I was back in Quartzsite I had Discount Solar (who did the solar install last March) install a Xantrex XC 2080, 2000 watt pure sine wave inverter with a built-in multi-stage charger, and I had them rewire the AC in the coach so I could power the TVs, the microwave, and all of the AC outlets in the coach from the inverter.
Typically when doing this you install an AC sub-panel, move the circuits you want to be able to power with the inverter from the main panel to the sub-panel, then run a 30 amp circuit from the main panel to the AC input of the inverter and the 30 amp AC output of the inverter would feed the sub-panel and thus power all of the circuits on the sub-panel.
In my case the installation was simplified a bit because I have a split panel. The motorhome I have could be ordered as either a 30 amp or a 50 amp coach. mine is 30 amp, so my shore power cord has three prongs: positive, neutral, and ground. If it had been ordered as a 50 amp coach the plug would have 4 prongs: 2 separate positives, neutral, and ground. A 50 amp RV has two 50 amp circuits feeding the main panel, and the panel is split into two main circuits with each of the circuits off of the panel connected to either Circuit A or Circuit B.
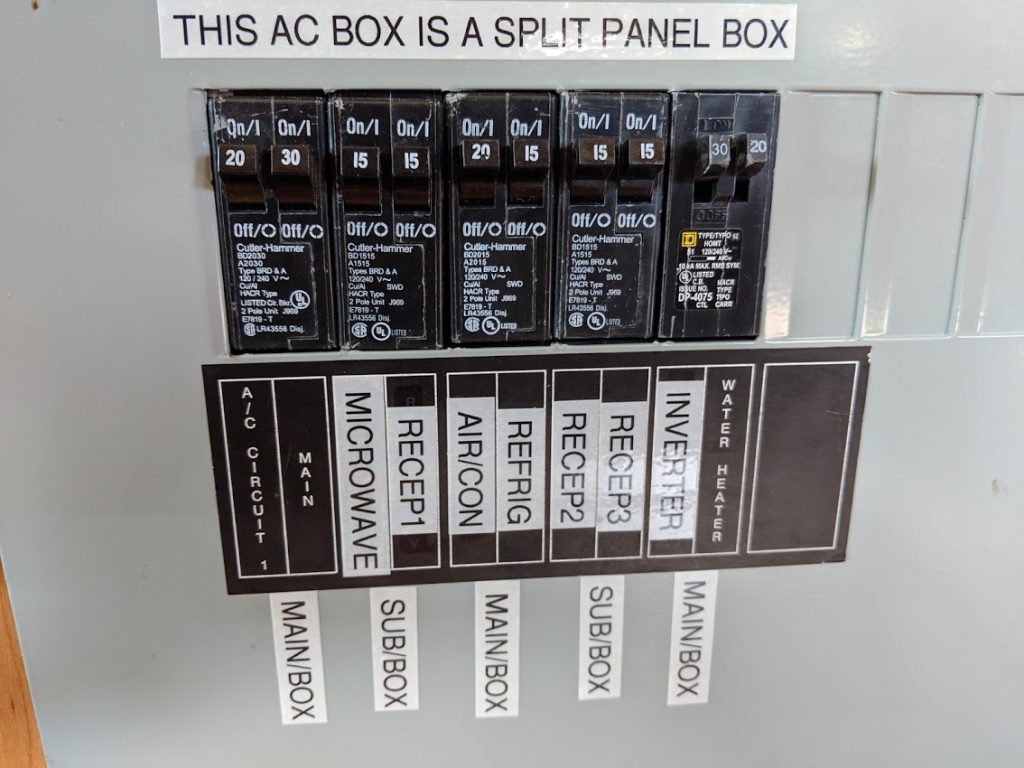
Since my coach could be ordered as a 50 amp coach I do have this split panel, but in my case both sides were fed by the single 30 amp input. So, the installers changed the wiring so that only Circuit A was fed by the 30 amp shore power cord. Then a 30 amp output was added to this side of the panel to feed the AC input of the new inverter. The AC output of the inverter then feeds the input of Circuit B on the split panel. In this way one side of the AC panel is live only when I am plugged in to power and the other side is live when plugged into power or when I switch the inverter on. From here the only thing necessary was the move the breakers around so each circuit was on the correct side of the split panel. So the two AC units, the electric element in the fridge, and the electric element in the water heater are on the side of the panel that is only powered when plugged into shore power or the generator. All of the other circuits are on the other side of the panel so can be fed from the inverter as well.
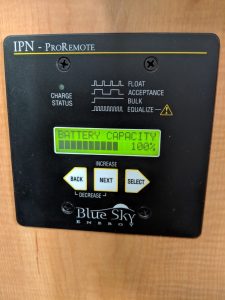
Since the inverter also has a smart multi-stage battery charger built-in, they disconnected the relatively “dumb” converter that used to charge the batteries when plugged into shore power or the generator. This multi-stage charger is much more efficient and will charge the batteries faster, which is a definite plus when I’m off-grid and I’m not getting enough solar to keep the batteries charged. Since it charges the batteries more efficiently, I don’t need to run the generator as long to get them charged up.
I’m loving the convenience of it all. Now in the morning I can switch the inverter on and make toast. At lunch time I can run the microwave to heat up some leftovers. I can even use my instant pot to cook dinner. I’ve also been able to run my little clothes washer.
Now if I could just solve the problem of running out of fresh water…